Create custom utility classes and breakpoints for Mr.Utils

Mr.Utils includes a good preset of utility classes, for spacing, colors, sizes, components and much more. And when using it on WordPress, you and other users can even select them via the block editor.
But there might be occasions, that you need to have your own custom classes, and you might want them to be available on the editor also.
And maybe you want to use those custom classes on specific breakpoints: The 4 preset breakpoints might not be enough for you, if that’s the case, you can also create custom breakpoints.
On this tutorial, you will learn how you can add your own custom utility classes and breakpoints to Mr.Utils. There are two ways to do it:
- Using Mr.Dev.’s Framework – is the easiest way on WordPress.
- Manual implementation on Mr.Utils
Using Mr.Dev.’s Framework on WordPress
Create custom utility classes using Mr.Dev.’s Framework
- Once on WordPress, go to “Settings” > “Mr.Dev.” (or your website name, depending of the configuration).
- Go to the “Utilities” tab (If the tab is not available, you’ll need to enable the option on the “Configuration” tab, at “Utilities configuration”).
- On “Default options” click on “Choose available features” and select “Custom” on each breakpoint where you’ll want your custom classes to be available.
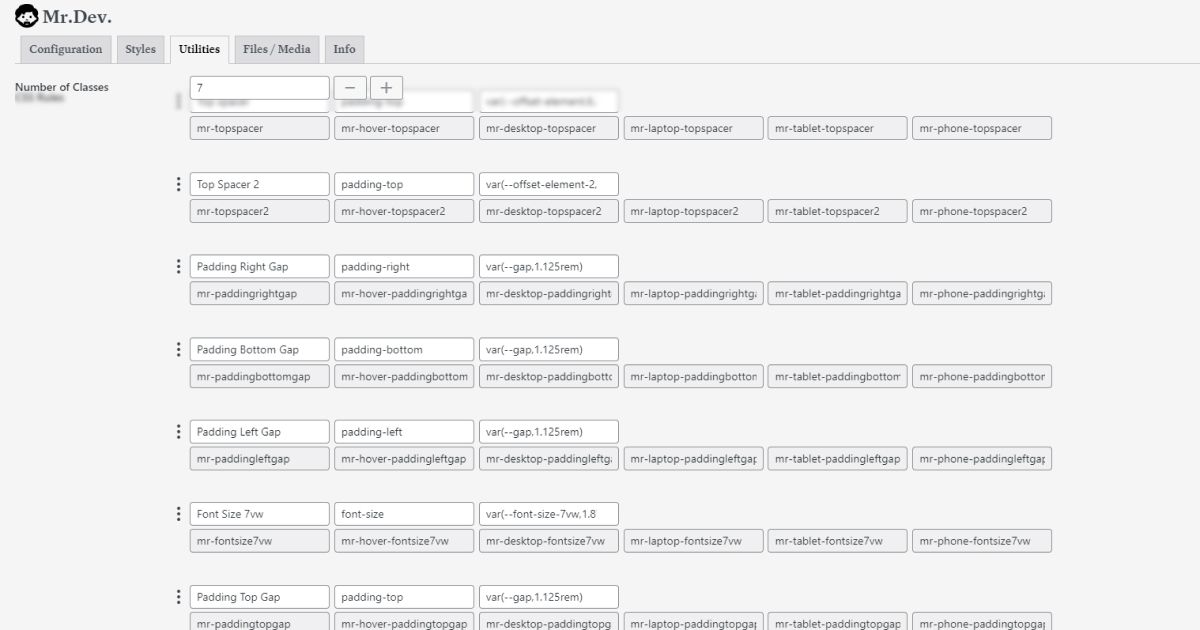
- Below on “Custom Utilities”, click on + to add the first class.
- Choose the class name (the class will be generated from this name).
- Choose the CSS property (A list of some properties will appear while you write, those properties can be used for the block editor. You can still use any CSS property you want, even the ones not listed, the only downside is those might not appear on the block editor, you’ll need to copy & paste the class).
- Choose the CSS variable / value (If you have the “Styles” tab enabled, you can create the variables there, they will appear in here after. And you don’t have to use variables, you can also write the intended values directly here if you prefer.)
Tip: If you want a class to have multiple properties, you can do it, by having the same class name repeated multiple times.

Using the custom utility classes
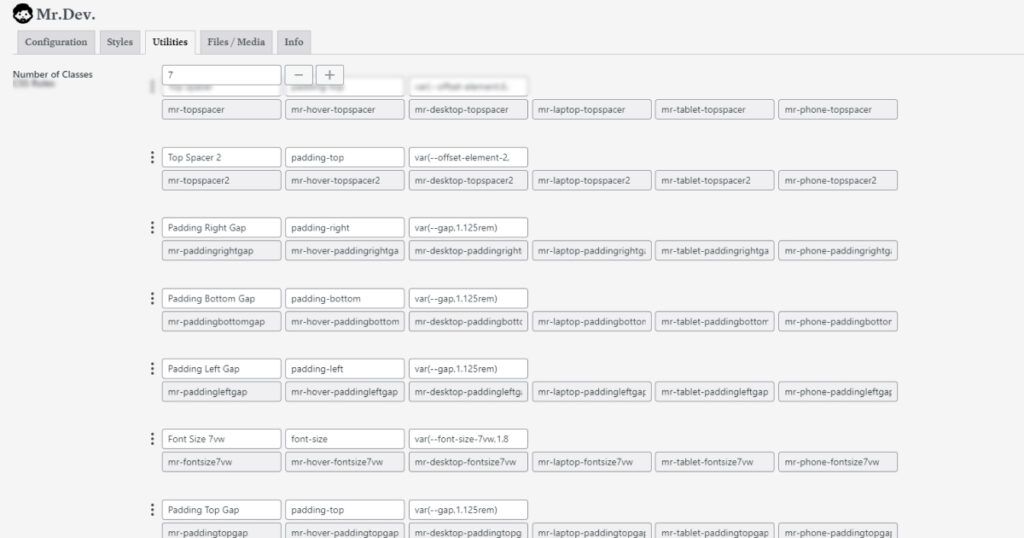
Once you create the custom utility classes, you will see inputs showing how the class looks for each breakpoint (that you selected on the 3rd step). You can click on the input to copy the class and then paste into your HTML, CSS, etc.
If the option “Show utilities on the block editor” is active, you can use the block editor to use the custom classes, for options related to spacing, coloring and sizes.

Add custom breakpoints using Mr.Dev.’s Framework
- Once on WordPress, go to “Settings” > “Mr.Dev.” (or your website name, depending of the configuration).
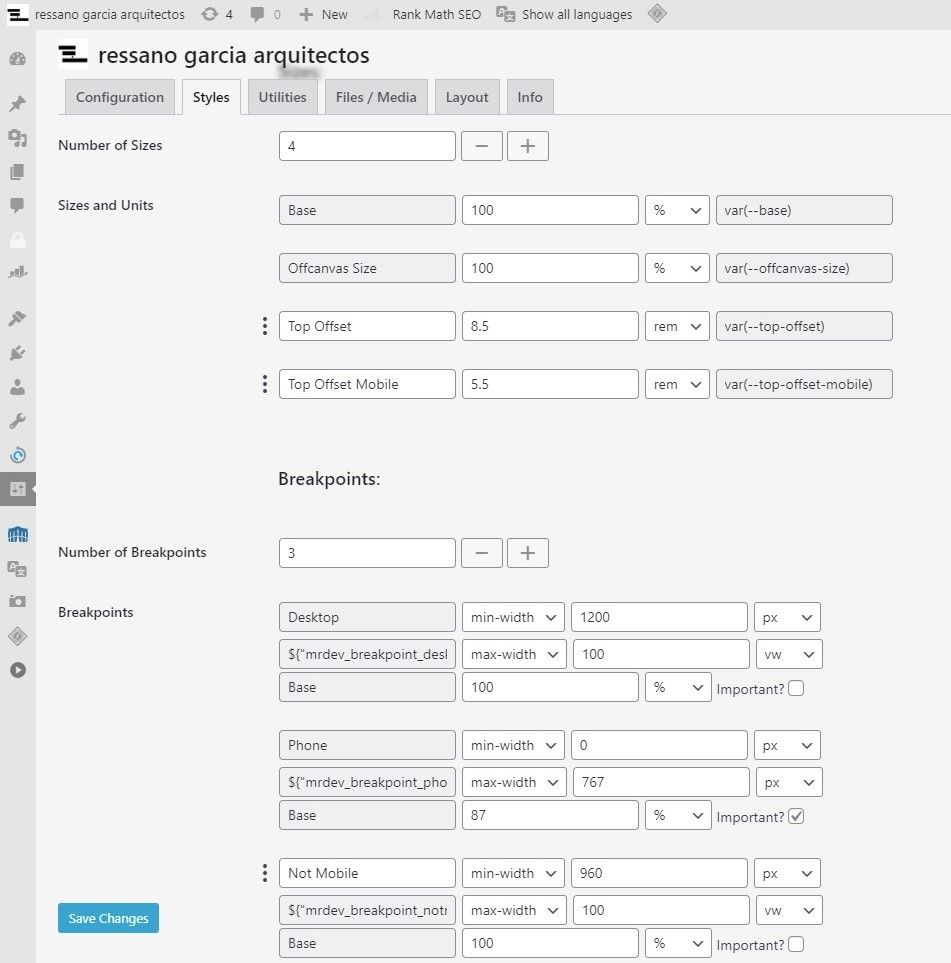
- Go to the “Styles” tab (If the tab is not available, you’ll need to enable the option on the “Configuration” tab, at “Styles configuration”).
- Scroll down to the “Breakpoints” section, where you will find 4 preset breakpoints already created, that you can change the values.
- Click on “+” on “Number of Breakpoints” to add a custom breakpoint.
- Choose the name for the breakpoint and define the min/max – width/height.

Using the custom breakpoints
Once you create the custom breakpoints, you can select them on the “Utilities” tab or/and on the “Files / Media” tab.
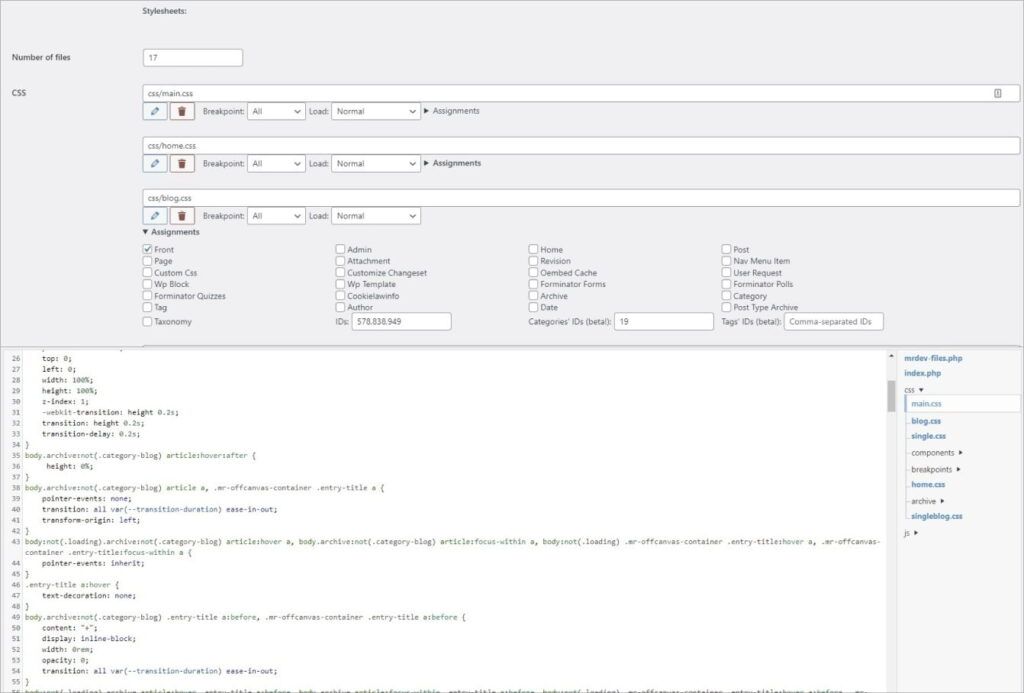
On the “Files/Media” tab, you can choose on which breakpoints each spreadsheet should load (In production, do not forget to use a cache plugin with minifying options, to combine these spreadsheets, while keeping the breakpoints and their media queries).

Manual implementation on Mr.Utils
Create custom utility classes
- Download Mr.Utils.
- Go to “dev/css”. Each folder located in here corresponds to one breakpoint (except for “utils” that is global).
- Go to each folder/breakpoint where you want your custom classes to be available and create a utils_breakpoint_custom.css file on each one.
- Open all the created files and add a class, following the utilities rules. Example: “
.mr-breakpoint-fontsize10 { }“. - Add the intended CSS properties to each class. Example: “
font-size: var(--font-size-10,60px);“. - Once you created all classes on all utils_custom.css, go to the main file on each folder/breakpoint, titled “utils_breakpoint.css”.
- Add the following line:
@import url("utils_breakpoint_custom.css");Replacing “breakpoint” with the actual breakpoint name. -
For development, you can load each of the main “dev/css/utils_breakpoint/utils_breakpoint.css” files, with media queries.
For production, you should use your favourite compiler, to compile the main files into the main “css” folder (located in the root folder). Use media queries to load all files inside that folder and then, use a page/html minifier to join all those media queried files into one.
Add custom breakpoints
With more files you can add more breakpoint names and media queries:
- Start by copying one of the given breakpoint files. For this example, copy the file ‘utils_desktop.css’.
- Change the file name to the name of your breakpoint. For this example rename it ‘utils_notmobile.css’ .
- Use your favorite code editor to find and replace all instances of ‘-desktop-‘ with ‘-notmobile-‘.
- Save the file next to other breakpoints and load it with your own media query. For this example, the easiest would be to add the following to the
<head>section:<link rel='stylesheet' href='mr-utils/css/utils_notmobile.css' media='(min-width: 768px)' />
